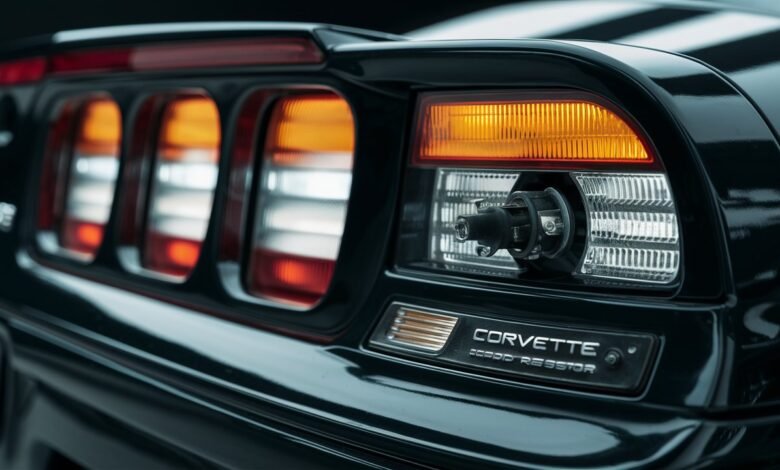
The 1992 corvette remover tail lights for led load resistor is a classic American sports car known for its sleek design and powerful performance. However, as with many older vehicles, its factory-installed halogen or incandescent tail lights may not provide the brightness and efficiency of modern LED lighting. Upgrading to LED tail lights can enhance visibility, improve safety, and give your Corvette a more contemporary look. However, one common issue that arises when switching to LEDs is hyper-flashing or error messages due to the lower power consumption of LEDs compared to traditional bulbs. This is where an LED load resistor comes into play. In this guide, we will explain the process of removing the tail lights and installing LED load resistors on a 1992 Corvette.
Step 1: Preparing for Tail Light Removal
Before removing the tail lights, it’s essential to gather all the necessary tools and equipment to make the process smoother. You will need:
- A flathead screwdriver
- A Phillips-head screwdriver
- A socket wrench set
- Electrical tape or heat shrink tubing
- Wire cutters and strippers
- LED load resistors (specific to your Corvette’s wiring system)
- A clean workspace
To ensure safety, disconnect the battery before working on the electrical system to avoid accidental short circuits or shocks.
Step 2: Removing the Tail Lights on a 1992 Corvette
The tail lights on a 1992 Corvette are relatively easy to remove, but care must be taken to prevent damage to the light housing or surrounding components.
- Locate the Tail Light Assembly: Open the rear hatch or trunk of your Corvette. Look inside the rear panel, where the tail light assembly is housed.
- Unscrew the Tail Light Bolts: Using a socket wrench, carefully remove the screws or bolts holding the tail light assembly in place. There are typically four fasteners per tail light.
- Detach the Wiring Harness: Once the fasteners are removed, gently pull the tail light assembly outward. Disconnect the wiring harness by pressing the release clips and pulling the connector apart.
- Remove the Bulbs: If you are upgrading to LED tail lights, remove the old incandescent bulbs by twisting them counterclockwise and pulling them out.
Step 3: Installing LED Load Resistors
LED bulbs consume less power than traditional incandescent bulbs, which may cause hyper-flashing or trigger a bulb-out warning light on the dashboard. Installing LED load resistors helps correct this issue by mimicking the electrical resistance of a standard bulb.
- Identify the Brake and Turn Signal Wires: Using a wiring diagram or multimeter, locate the brake light and turn signal wires that need resistance added.
- Connect the LED Load Resistor: The resistor should be wired in parallel with the LED bulb. Connect one end of the resistor to the positive wire (turn signal or brake light wire) and the other end to the ground wire.
- Secure the Resistor: Attach the resistor to a metal part of the vehicle frame, away from plastic components, as it can get hot during operation. Use zip ties or screws to hold it in place.
- Test the Lights: Reconnect the battery and turn on the lights to check if the LED bulbs function correctly without hyper-flashing.
Step 4: Reinstalling the Tail Light Assembly
Once the LED load resistors are installed and functioning correctly, it’s time to put everything back together.
- Reconnect the Wiring Harness: Carefully plug the connectors back into the tail light assembly.
- Reattach the Tail Lights: Align the tail light housing with the mounting holes and secure it with the previously removed screws or bolts.
- Final Testing: Turn on your headlights, brake lights, and turn signals to ensure everything is working as expected.

Conclusion
Upgrading the tail lights on your 1992 Corvette to LED is a great way to enhance visibility and modernize your vehicle’s appearance. However, installing LED load resistors is crucial to prevent hyper-flashing and warning errors. By following this guide, you can successfully remove your tail lights, install the necessary resistors, and enjoy the benefits of your new LED lighting system. Taking the time to properly wire and secure the resistors will ensure long-lasting functionality and optimal performance for your Corvette.
Frequently Asked Questions (FAQs)
1. Why do I need LED load resistors when installing LED tail lights on my 1992 Corvette?
LED bulbs consume less power than traditional incandescent bulbs, which can cause the vehicle’s computer to detect them as a burned-out bulb, leading to hyper-flashing or error messages. Load resistors simulate the electrical load of a regular bulb to prevent these issues.
2. Will installing LED load resistors damage my Corvette’s electrical system?
No, as long as the resistors are installed correctly and secured to a metal surface for heat dissipation, they will not damage your vehicle’s electrical system.
3. How do I know if my LED tail lights require a load resistor?
If you experience hyper-flashing (rapid blinking) or error messages on your dashboard after installing LED bulbs, you will likely need a load resistor to correct the issue.
4. Can I install LED tail lights without resistors?
In some cases, LED bulbs come with built-in resistors to prevent hyper-flashing. However, if your LEDs do not have this feature, external resistors must be installed.
5. Do LED load resistors get hot?
Yes, LED load resistors generate heat while operating, so they should be mounted on a metal surface away from plastic or sensitive components to avoid damage.
By following these steps, you can enjoy the benefits of LED lighting while maintaining the proper function of your Corvette’s electrical system. Happy upgrading!